Finishing
AI Image Resolution vs Upscaling: What Each One Changes
Understand source pixels, resampling, and invented detail so you can choose a sensible enlargement workflow for your AI images.
By Onhand Studio · September 16, 2026 · 4 min read
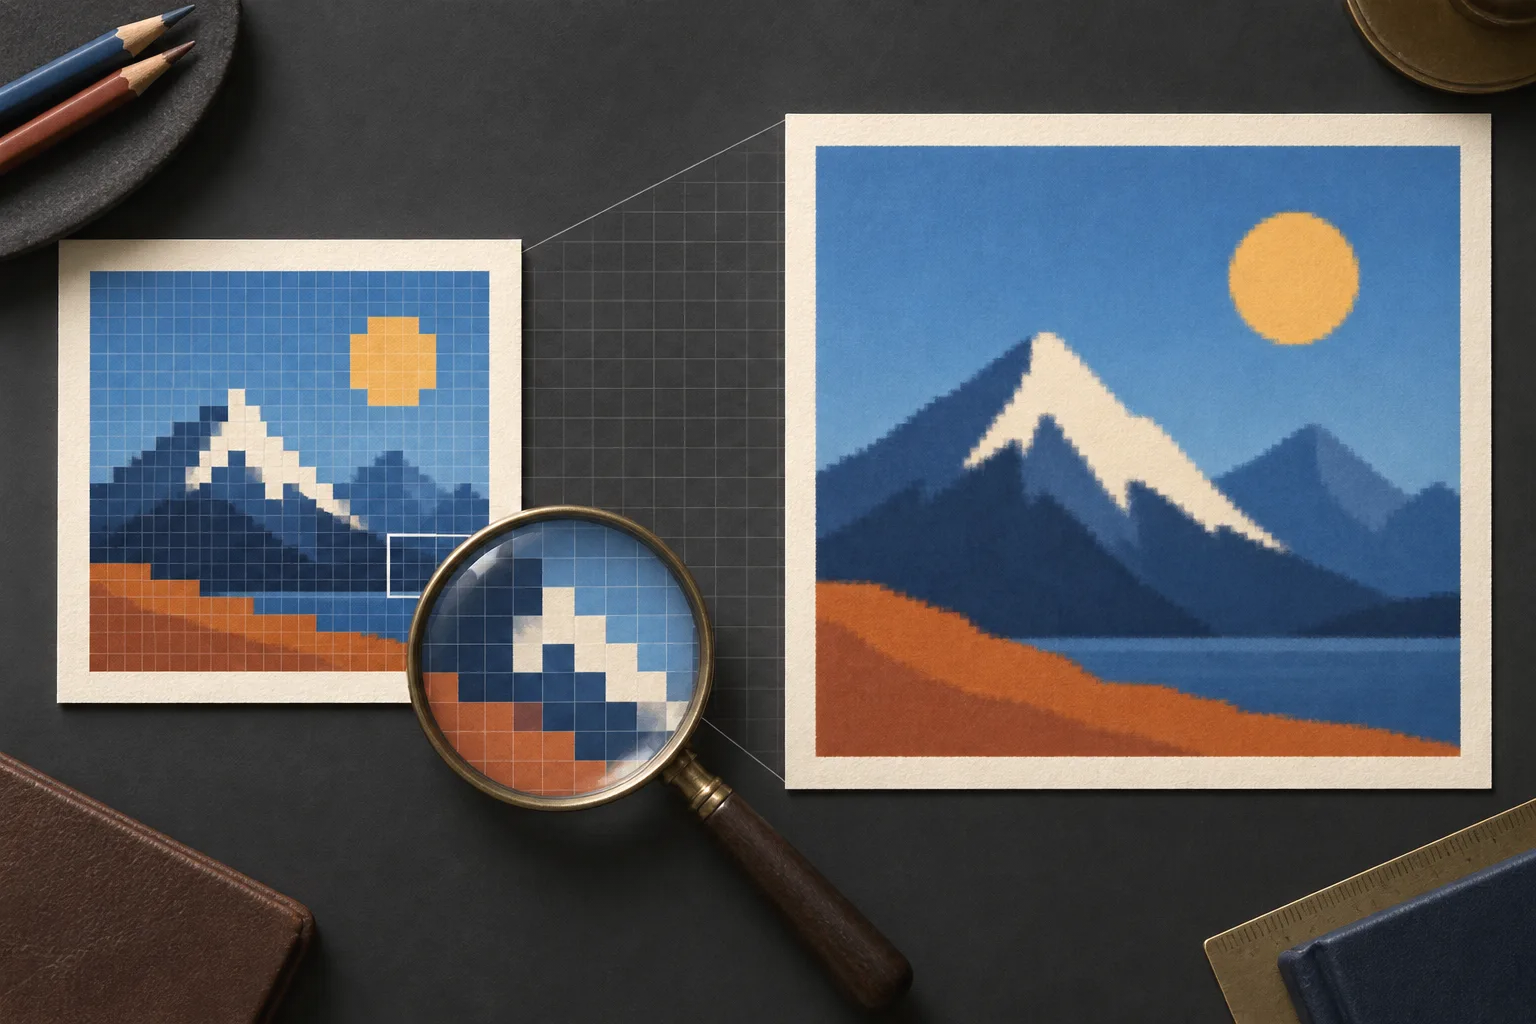
Ask what kind of improvement you need
“Higher resolution” can mean a larger file in pixels, more convincing fine detail, or a better-looking print. Those goals overlap, but they are not interchangeable. Before choosing an enlargement method, identify the problem in the current image. A small file needs more output pixels; a malformed hand needs an edit; blurry lettering needs accurate replacement text.
An image’s pixel dimensions describe its grid. A 512 × 512 image has 262,144 pixels. Doubling both sides produces 1024 × 1024, or 1,048,576 pixels: four times as many. That arithmetic says how many samples the file contains. It does not tell you how much trustworthy detail those samples describe.
Source quality still matters. A sharply composed small illustration may work well in a modest layout, while a larger image can contain vague textures and broken anatomy. Evaluate shape and content before dimensions. Enlarging a defect usually makes it easier to see, even when the image looks smoother overall.
Know what each operation changes
| Operation | What changes | What to inspect |
|---|---|---|
| Generate a new image | A new composition and its image detail | Subject, structure, and correspondence to the brief |
| Conventional resize | Pixel dimensions through interpolation | Edges, softness, and ringing |
| AI detail synthesis | Pixel dimensions and potentially invented fine content | Faces, lettering, texture, and factual fidelity |
| Change print density without resampling | The stated physical size per pixel | The resulting print dimensions |
Conventional resampling estimates intermediate values from the source. Onhand Studio’s Resize 2× uses Lanczos interpolation and belongs in this category. It is useful when you need a larger image while retaining the source’s visual content, but it does not reconstruct unknown pores, fabric weave, or distant text.
Tools that synthesize detail can create plausible texture where the original was vague. That may suit imaginative artwork, but plausible is different from recovered. A newly crisp letter can be the wrong letter, and a sharper face can have altered features. Judge such results as new interpretations wherever the added detail matters.
Use the smallest operation that solves the problem
- Open the original export and check its pixel dimensions.
- Define the destination: a specific screen frame, downloadable file, or physical print.
- Crop only as needed, then check the remaining dimensions again.
- Repair content problems such as duplicate objects before enlargement.
- If a conventional enlargement fits the requirement, make one resized copy and compare it with the original.
- Inspect the final export at its intended display size as well as close up.
For example, suppose a 512-pixel illustration must fill a 900-pixel square in a presentation. A 2× resize supplies a 1024-pixel file, which can then be placed at that size. The image now meets the dimensional requirement, but its fine content still comes from the original 512-pixel source. Decide whether that appearance is sufficient by viewing the actual slide.
For print, calculate the requested pixels from inches and pixels per inch. Changing a file’s density label without adding pixels does not improve its content. If the required size is far beyond the original, a smaller print or a layout with margins may produce a more convincing result than repeated enlargement.
Watch for enlargement artifacts
Inspect high-contrast edges such as dark hair against a pale wall, thin line art, and lettering. Resampling can produce soft transitions or faint light and dark fringes around edges. Extra sharpening may intensify those fringes. Compare at the same apparent size; viewing the larger file at a larger zoom is not a fair measure of improvement.
- Halos appear around outlines: reduce later sharpening and compare with the unsharpened resize.
- The file is larger but faces remain vague: the source lacks that information; choose a different source or accept the limitation.
- Text becomes crisp but wrong after a generative tool: replace it with editable typography.
- The image looks good close up but weak in the layout: revisit crop, contrast, and subject size.
- A second resize adds no visible value: keep the earlier version and export only the dimensions needed.
Keep the original alongside the final file and record which operation produced the enlargement. That makes future changes easier and prevents a resized copy from being mistaken for a higher-detail source.