Finishing
Check AI Images Before Publishing: A Practical Inspection Pass
Review generated artwork for composition, anatomy, objects, text, edit seams, and export problems using a repeatable inspection pass.
By Onhand Studio · September 16, 2026 · 4 min read
Review the file your audience will receive
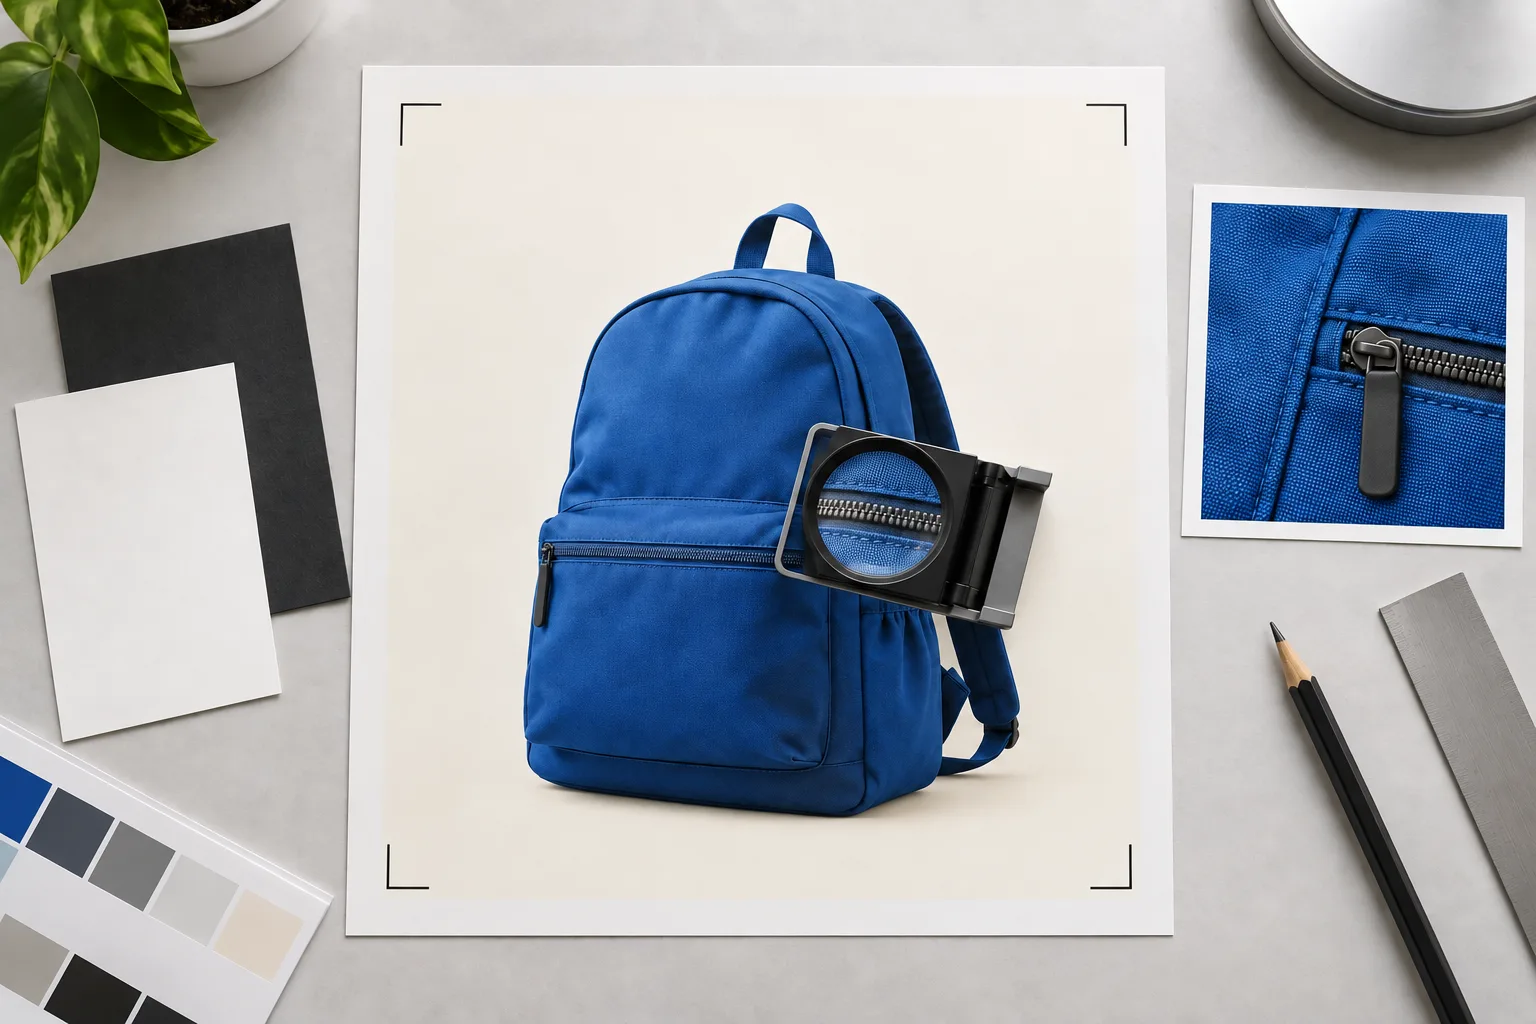
An attractive preview can hide errors that become obvious after export. Open the final image outside the generation app and inspect that file. Check it at the intended display size first, then zoom in for specific defects. This order catches both the overall communication problem and small local mistakes without letting one distracting pixel dominate the review.
Write a one-sentence brief beside the image: “A single blue backpack on a quiet cream background with room for a headline on the left.” That gives the review a concrete standard. A beautiful second backpack still violates the brief, and an empty left side is not useful if the required headline cannot fit.
Keep the original and final versions available. If the image passed through Inpaint, Refine, a color editor, and a layout tool, note which stage changed which area. When you find an error, return to the nearest useful version instead of repeatedly altering an export that already contains several compromises.
Start with recognition and composition
- The intended subject is immediately recognizable.
- The number and arrangement of major objects match the brief.
- The crop preserves essential shapes and leaves room for required text.
- The focal point remains clear at the actual viewing size.
- Bright patches, hard lines, and background props do not steal attention.
Look at the image as a small thumbnail or step back from the screen. If the subject disappears, more texture is unlikely to fix the problem. Adjust the crop, contrast, or background first. For a series, review the image beside its neighbors; a different perspective or a much stronger shadow may be the most important defect.
Trace how the picture is put together
For people, follow each visible limb from the body to its endpoint. Check wrists, fingers, ears, teeth, glasses, and the way clothing wraps around the pose. A hand does not require five visible fingers when some are hidden, but every visible finger should connect plausibly. Pay particular attention to contact points where a person holds or leans on something.
For objects and architecture, trace continuous edges. Look at handles, wheels, chair legs, window frames, and table corners. Check whether shadows and reflections correspond to the visible objects. A second wheel behind the first may be correct; a reflection of a removed vase may be an editing leftover. Evaluate the scene’s physical explanation before deciding what to erase.
Repairs should match the size of the problem. A local defect may suit Onhand Studio’s Turbo Inpaint workflow. An impossible overall pose may require a new image. Resize 2× enlarges existing content through Lanczos interpolation, so it will not correct an extra limb or reconstruct a broken object.
Read lettering and inspect changed areas
Read every visible word character by character, including background signs, labels, and marks that resemble signatures. Compare names, dates, and prices with the approved copy. For practical information, use real editable text in the layout file. A shape that resembles lettering should not carry information your audience needs.
- Around an inpainted region, check for ghost outlines, abrupt texture, and changes in sharpness.
- After background removal, inspect fine edges against light and dark fills.
- After resizing, check high-contrast outlines for halos and assess whether detail is sufficient.
- After color correction, compare the image with its intended background and any palette swatches.
- After adding text, inspect the exported line breaks and the edges of every text box.
Use a manual image or layout editor for precise fixes such as a straight line, exact fill color, or corrected typography. Generating a new version is useful when you want a visual reinterpretation. It can also alter already approved details, so compare the full picture after every material generative edit.
Check the destination and stop criteria
Verify the final file dimensions, crop, format, and transparency in the destination workflow. For a website or post, preview the image in its actual placement. For a print, follow the printer’s supplied specifications and review a proof when appropriate. Make sure the selected export is the approved version rather than an earlier candidate with a similar filename.
Prioritize defects that change meaning, undermine the subject, or fail the delivery requirement. A minor background texture that no one can see at the intended size may not justify another full generation. Record any accepted limitation, save the working files, and use a clear final filename.
- The image answers the brief.
- No material anatomy, object, or lettering error remains.
- All edited boundaries have been inspected.
- The actual export works in its intended placement.
- The approved final file and editable originals are easy to identify.