Finishing
Prepare AI Art for Print Without Inventing Detail
Calculate the pixels needed for a print, preserve crop and bleed space, and evaluate resizing accurately before ordering a physical proof.
By Onhand Studio · September 16, 2026 · 4 min read
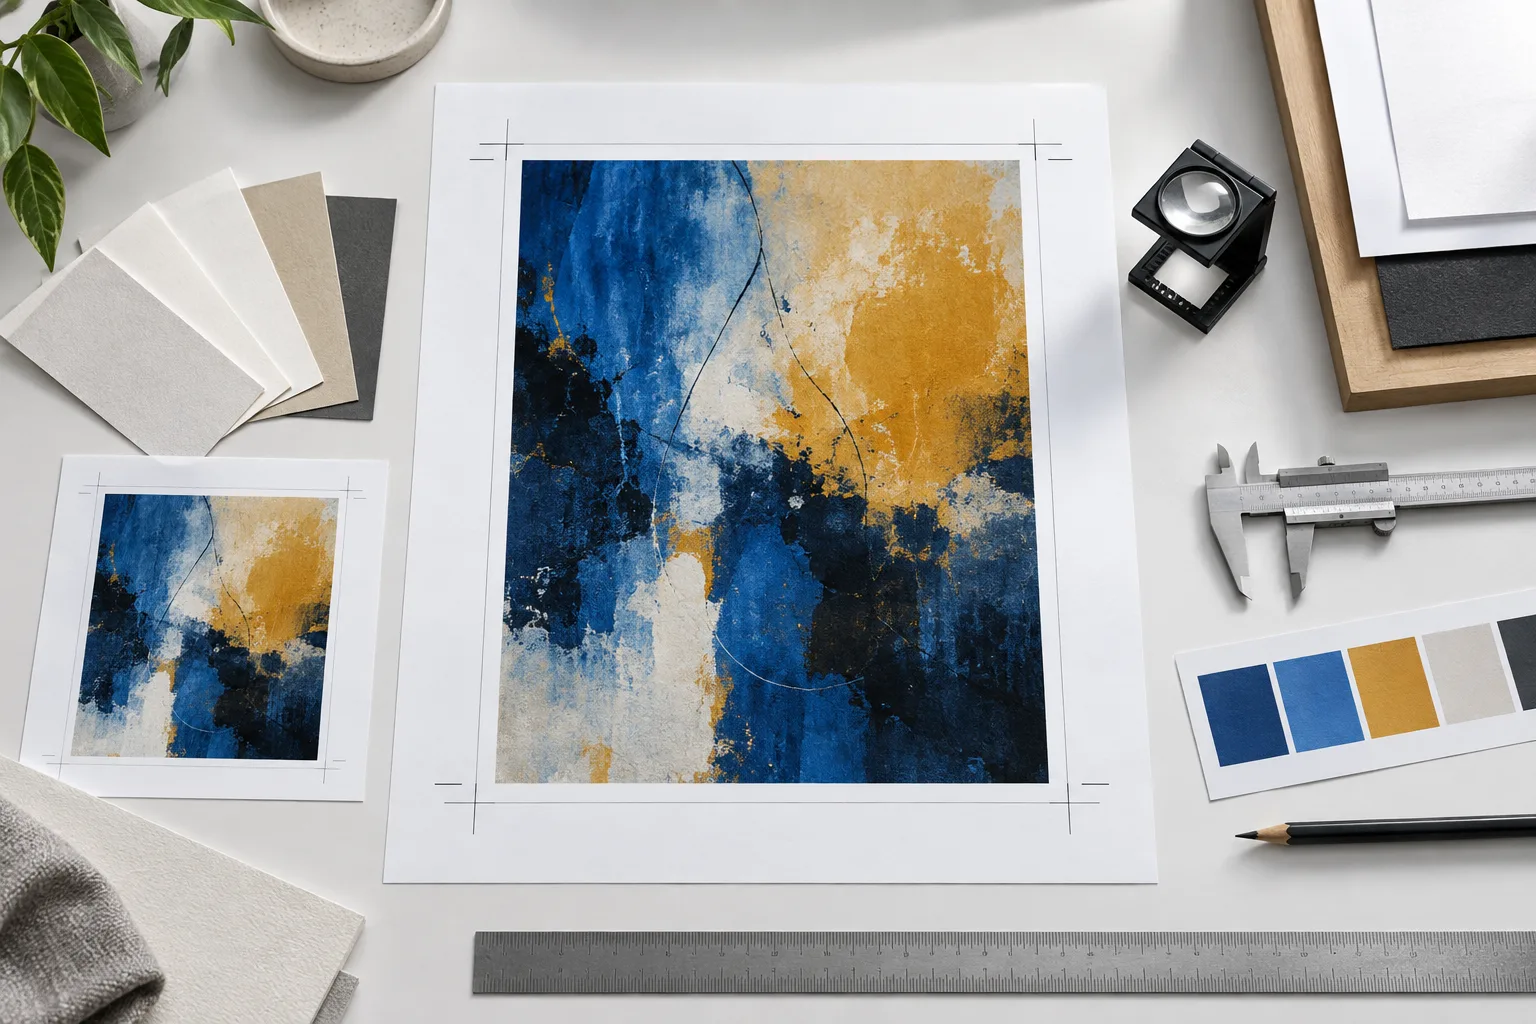
Start with the printer’s required file
Choose the physical print size and ask the printer for its file requirements before enlarging the artwork. You need the dimensions, requested image resolution, bleed, safe area, color workflow, and accepted file format. A poster, postcard, and fabric print can have different requirements. Use the specification for the actual product you are ordering.
Image resolution for print describes how many image pixels are assigned to an inch on paper. Changing that number without resampling changes the stated physical size, not the source detail. Adobe’s image-size documentation explains the distinction between changing dimensions and adding or removing pixels through resampling.
Use the exported original from Onhand Studio. A gallery screenshot includes only the pixels displayed on your screen and may include interface elements or scaling. Keep that original untouched while you make a print version. If you plan to add lettering, keep it editable in a layout document until the printer’s export stage.
Calculate the required pixels
Multiply the width in inches by the requested pixels per inch, then do the same for the height. As a worked example, an 8 × 10 inch image at a requested 300 pixels per inch needs 2400 × 3000 pixels before any extra area for bleed. The number 300 here is only an example specification.
| Example image area | Example requested density | Pixels for that area |
|---|---|---|
| 4 × 6 inches | 300 pixels per inch | 1200 × 1800 |
| 8 × 10 inches | 300 pixels per inch | 2400 × 3000 |
| 12 × 16 inches | 150 pixels per inch | 1800 × 2400 |
Check the crop before comparing numbers. A square source loses pixels when cropped to a tall rectangle. If the important subject nearly touches an edge, filling the print frame may remove part of it. Place the source in the actual document dimensions and verify the composition before deciding how much enlargement is useful.
Distinguish a larger file from more detail
Onhand’s Resize 2× uses Lanczos interpolation. It doubles width and height by calculating new pixel values from the existing image; it does not use an AI model to invent additional detail. A 512 × 512 source becomes 1024 × 1024, but tiny facial features and blurry lettering do not become reliable information because the file is larger.
If the source is too small for the desired print, compare realistic options: a smaller physical print, a design that places the art inside a border, a new source with more useful detail, or an enlargement accepted after inspection. Do not assume that repeatedly applying Resize 2× improves the underlying artwork. It mainly creates a larger sampling grid.
Judge the result at the intended viewing distance as well as close up. Broad abstract shapes can tolerate enlargement differently from a detailed face. A proof gives you evidence for that particular image, paper, and size. A screen preview can help choose candidates, but it cannot establish how the finished print will look.
Protect edges, text, and color
Bleed is artwork extending beyond the final trim boundary. Follow the printer’s specified amount, and keep essential content inside its safe area. Adding a white border is not the same as extending a colored background through the bleed. Use the printer’s template in your layout editor when one is supplied.
- Soft faces or small details: reduce the print area or select a stronger source rather than relying on aggressive sharpening.
- A clipped subject: revise the crop or place the art within a larger layout with intentional margins.
- Unexpected dark color: review the printer’s color requirements and a proof before changing the whole palette.
- Thin text looks rough: keep the text editable in the layout and use the printer’s requested export settings.
- A visible edge after trimming: check that the background extends through the full bleed area.
Inspect before ordering the full run
- The trim size, bleed, and safe area match the order.
- The cropped artwork has been evaluated at its actual print size.
- Any enlargement is described accurately and inspected for artifacts.
- Text is spelled correctly and stays clear of the trim.
- The exported file follows the printer’s format and color instructions.
- A proof has been reviewed when the cost or importance of the job warrants it.