Lighting edits
Relight a Still Life Photo with AI and Keep Shadows Coherent
Explore softer or moodier light in a still life using Image to Image, with checks for shadow direction, contact points, reflections, and material changes.
By Onhand Studio · September 16, 2026 · 4 min read
Map the existing light before changing it
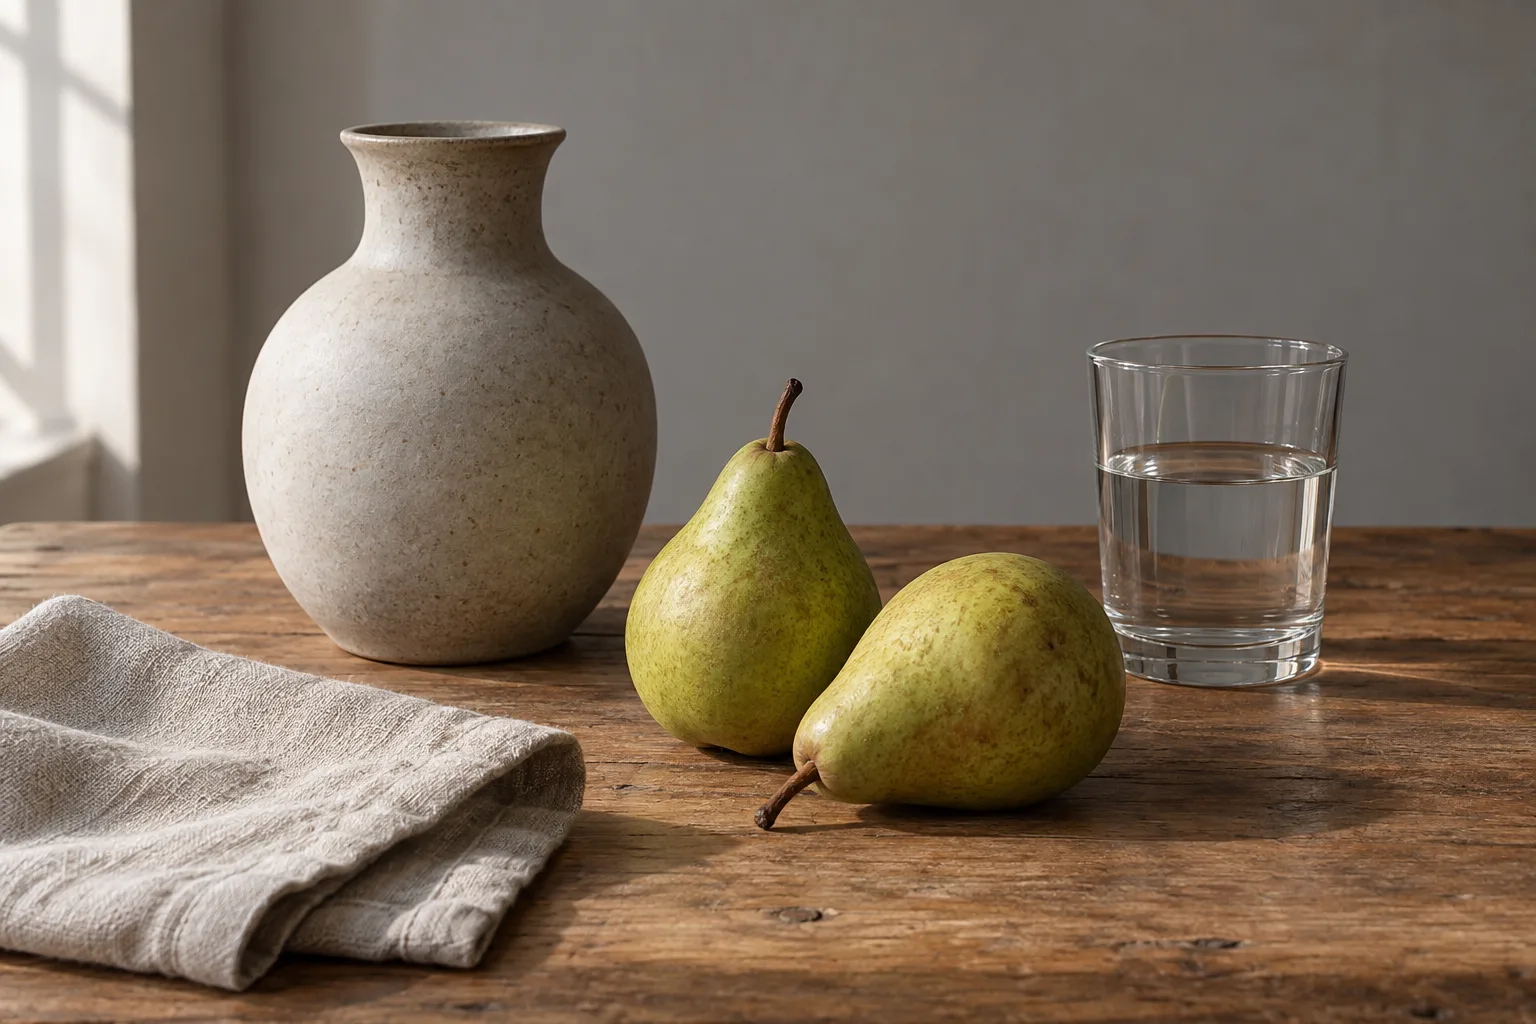
A still life makes lighting errors easy to see. A pear sits on a surface, a vase casts a shadow, and a glass reflects its surroundings. Before editing, identify the main bright side of each object, the direction of the cast shadows, and the dark contact area beneath each base. Those three observations give you a practical check for any new lighting treatment.
Decide whether you need a gentler mood change or a different light source. Making existing window light cooler or softer asks less of the image than moving the apparent sun to the opposite side. If you only need a brighter photograph, start with exposure and contrast controls in a photo editor. A generative relight can change the objects themselves, so use it when a new interpretation of the lighting is the purpose.
Begin with a compatible lighting brief
In Onhand, choose Image to Image, import the photograph, and select an available model. This workflow is supported across generation engines. Start near 30% strength for a cautious first comparison. Onhand allows 25% to 85%; a low value still needs checking and does not promise exact object preservation. Keep the model and source fixed while adjusting the lighting description.
Soft window-light starting prompt
Still life of a matte ceramic vase, two pears, and a folded linen cloth on a wooden table, broad soft window light from the left, gentle shadows falling to the right, quiet neutral background, subtle highlights following the curves of the objects.
Replace the objects and direction with the facts of your source. Keep material words precise. Matte ceramic, clear glass, and polished metal need different highlight behavior. Avoid a vague instruction such as make it cinematic if you have a specific light in mind; that gives you no clear standard for judging the shadows.
Check every object against the same light
- Find the brightest side of the largest object and compare it with the prompt.
- Follow its cast shadow across the table, then compare the other objects’ shadows.
- Inspect the contact points. Each object should feel connected to the surface rather than floating.
- Check folds in the cloth for shading that agrees with their new shape and the main light.
- Look at the background for an unrelated glow or second hard shadow that the scene cannot explain.
Real scenes can have more than one light, but a simple starting brief makes inconsistencies easier to diagnose. A broad window generally suggests softer transitions than a small hard spotlight. You do not need to calculate a lighting simulation; compare whether the source, shadows, and visible object surfaces tell a compatible story.
Separate better lighting from changed objects
A new highlight can make a vase look attractive while changing its neck or handle. Compare silhouettes and object counts before accepting the lighting. Inspect the pear stems, the rim of the vase, and any label or patterned cloth. If the photograph is meant to show an exact product, a pleasing generative result still needs to pass that product comparison; invented detail is not a lighting improvement.
Glass and polished objects need particular care. Their reflections can imply a bright window that the rest of the scene does not share. Transparent glass may acquire a cloudy patch or an altered rim. If that happens, return to the source and request a more modest change. For an exact commercial image, conventional retouching or another photograph under the intended light may be the more controllable route.
Revise one lighting property at a time
If shadows are too hard, ask for a broad diffuse source and remove spotlight language. If the scene becomes orange, specify neutral daylight instead of warm or golden light. If one object changes shape, lower strength from the original and simplify its description. Keep color temperature, softness, and direction as separate decisions. Changing all three makes it difficult to identify why an attempt worked.
For a successful image that needs one more adjustment, Refine can provide a further whole-image pass. Compare the bases, silhouettes, and shadows again before selecting Keep; choose Revert when the improvement introduces new inconsistencies. Save the final version separately and view it at its intended size. Stop when the arrangement reads clearly and the light agrees across the scene, even if another dramatic variation is possible.