Furniture concepts
AI Furniture Design Prompts for Chairs, Materials and Proportions
Explore chair designs through frame proportions, upholstery and visible supports, with prompt variants and checks for joints, scale and everyday use.
By Onhand Studio · September 16, 2026 · 4 min read
Describe the use before the style
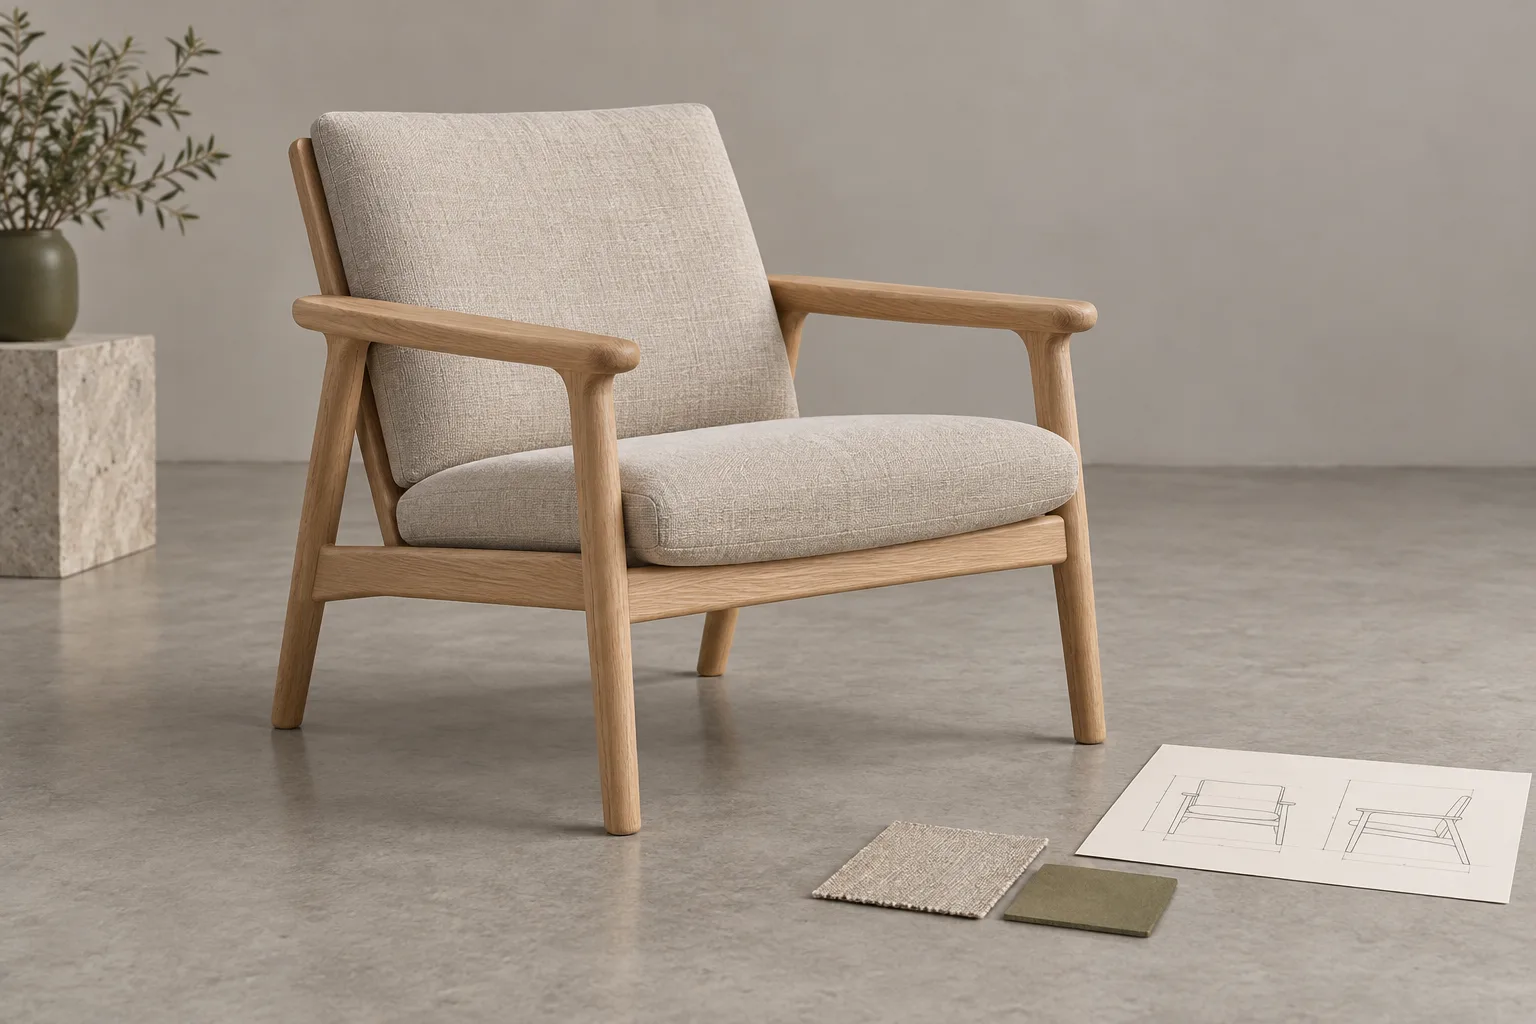
A furniture concept should begin with what the object needs to do. A reading chair needs a place to sit, a back to lean against and a way to meet the floor. A side table needs a usable surface and room around its base. Describe these ordinary relationships before asking for a striking sculptural form. Otherwise the silhouette can conceal a seat that is unusably shallow or a table with no coherent support.
Pick a plain three-quarter view that shows the front, one side and the floor contacts. Avoid dramatic low angles, deep shadows and elaborate rooms during the first pass. Those choices can make a concept appealing while hiding the exact parts that need inspection. Keep intended dimensions in a separate sketch; a prompt can suggest proportions, but the resulting image is not a dimensionally reliable drawing.
A reading chair with visible supports
Starting prompt
Compact oak reading chair, four visible legs meeting level floor, linen seat, reclined padded back, armrests visibly joined to front and rear supports, rounded edges, three-quarter view at seat height, gray studio, even light.
The phrase “four clearly visible legs” is a review target rather than a guarantee. Count the supports in the result and check which ones reach the floor. The model may draw an extra rear leg, fuse two legs or hide a contact point behind the seat. A simpler-looking image can be the more useful candidate when its construction questions are easier to identify.
Change one proportion or material relationship
- Lighter outline: reduce the visual thickness of the frame while preserving the same seat, back angle and four-leg arrangement. Flag the thinner members for later structural review rather than assuming they can be built.
- Broader comfort direction: widen the apparent seat and arm spacing, retaining the rest of the form. Compare this with the actual room footprint instead of deciding from the isolated object alone.
- Material contrast: keep the original frame proportions and replace the linen appearance with dark olive upholstery. This tests the balance between exposed wood and fabric without changing the support arrangement.
Put the candidates beside a simple outline of the intended space. A generous chair can look well balanced in a studio image and occupy too much room beside a real sofa. Conversely, a very small chair may appear light because the model reduced the seat as well as the frame. Keep the function and the available footprint visible while choosing a direction.
Follow the visible support path
Trace how the seat appears to connect to the frame and how the frame meets the floor. Inspect the armrests at both ends and the back where it joins the seat or rear supports. Look for members that terminate without connecting, joints that vanish into upholstery and parts that occupy the same space. These observations expose unresolved geometry; they do not calculate load capacity or establish that a plausible-looking joint is adequate.
Then check the apparent use of the object. Could a person approach the seat without stepping over a decorative rail? Is the back positioned where it could support someone, rather than far behind them? Do the armrests leave a sensible opening? Compare these questions with your measured design brief. Comfort, stability and durability require appropriate design work and physical evaluation beyond an image.
Remove presentation tricks before adding details
- If a support disappears in shadow, ask for even front-side lighting and a slightly higher camera. Keep the geometry description unchanged.
- If the chair becomes an impossible continuous ribbon, replace sculptural language with separate named seat, back, legs and armrests.
- If decorative joinery distracts from the form, ask for plain visible connections and no carved pattern. Add construction detail only through a design process that can verify it.
Annotate the selected chair directly: circle each floor contact, trace both armrest connections, mark the seat-to-back junction and shade the exposed wood separately from the upholstery. Add intended seat width, depth and overall footprint to a separate sketch. Flag the rear support angle and thinner frame members for the maker to resolve. Keep additional generated views beside these notes only if you have identified where their geometry differs.